

|
|
|
Getting Started on Microsoft Windows
|
Getting Started on Microsoft Windows
This version of the tutorial is for the 0.85 release of leJOS NXJ. PrerequisitesUSB DriverTo run leJOS NXJ on Microsoft Windows you will need a suitable USB driver on your PC. If you have installed the standard LEGO Mindstorms software, a suitable driver will already be installed. If you do not wish to install the LEGO software on your PC you can get a driver from The RobotC site. Java Development KitYou will also need a Java Development Kit (JDK) on your PC. Note that a Java Runtime Environment (JRE) is not sufficient as it does not allow you to compile Java programs. You can download the latest JDK from http://java.sun.com/. Follow the instructions for installing it. leJOS NXJ works has been tested with JDK versions 1.5 and 1.6, but will not work with earlier versions. JDK 1.6 is recommended, and some PC sample programs will not wiork with JDK 1.5. You will need to add the JDK bin directory to your system or user PATH,
so that commands such as It is also a good idea to set the environment variable JAVA_HOME to the folder where you installed the JDK. This is necessary
if you use the Bluetooth StackIf you want to communicate with the NXT over Bluetooth, you will need a Bluetooth dongle or built-in support on your PC, and a Bluetooth software stack. leJOS NXJ has been tested with the Microsoft and Widcomm stacks, but should work with others. You can use leJOS NXJ without Bluetooth. Downloading the softwareYou can download the leJOS NXJ software from The leJOS NXJ download page. It is recommended that you use the Windows installer, but there is a ZIP file release that you can use if you prefer to do a manual installation. Running the GUI installer Run 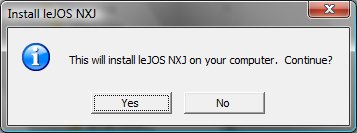
Select "Yes" and you will see: 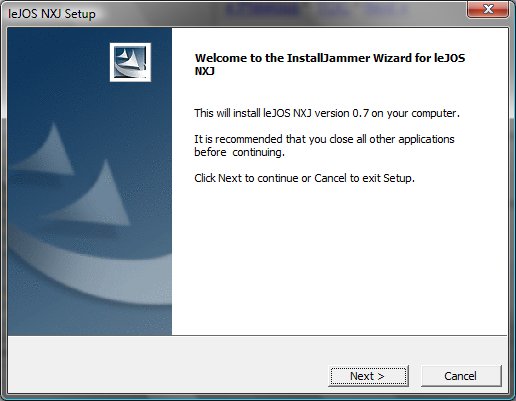
Note that Installjammer is the open source software we have used to produce the installer. Click "Next and you will see: 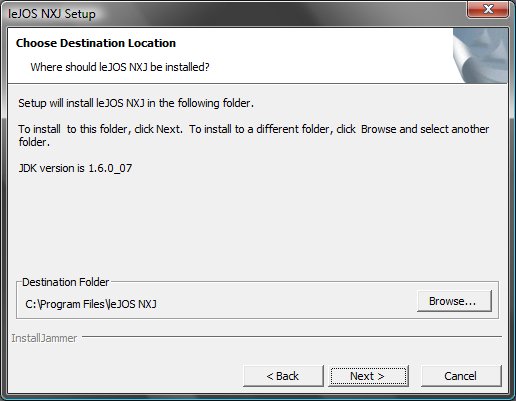
You can change the destination if you need to. Click on the "Browse" button to change the destination. The JDK version that we have detected is displayed on this screen
Once you have selected the destination, click "Next" and you will see: 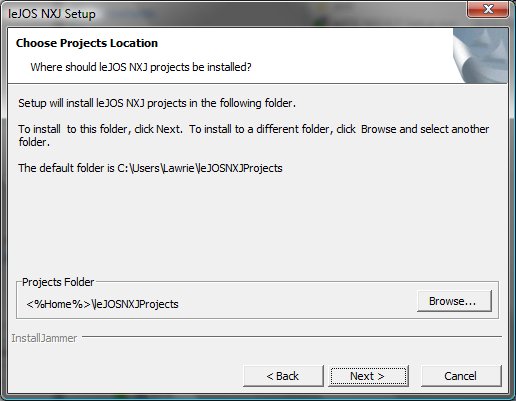
Again you can change the destination for the leJOS projects. It defaults to leJOSNXJProjects in the users home directory. On Windows Vista this is C:\Users\user and on XP it is C:\Documents and Settings\user. All the Java source in leJOS NXJ is issued as projects that can be opened in Eclipse and Netbeans. Once you have selected the projects destination, the installation will start. If you already have leJOS NXJ installed in the selected destination, you will see: 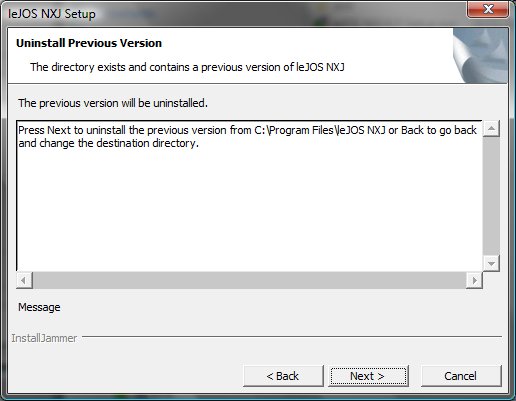
Click next and the previous version will be uninstalled: 
Once you have confirmed that you want the old version uninstalled, you will see: 
and then: 
After any previous version has been uninstalled, the installation of the new version starts and you see: 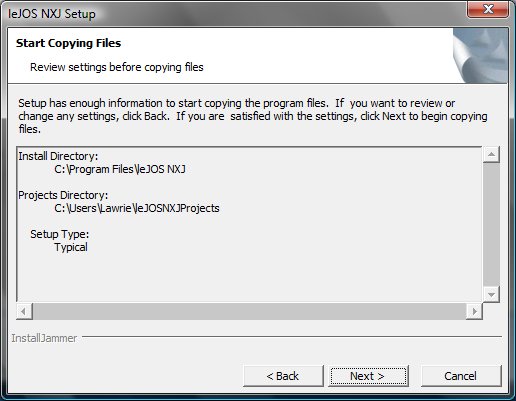
Check that the destination directories are correct and click "Next". You will see: 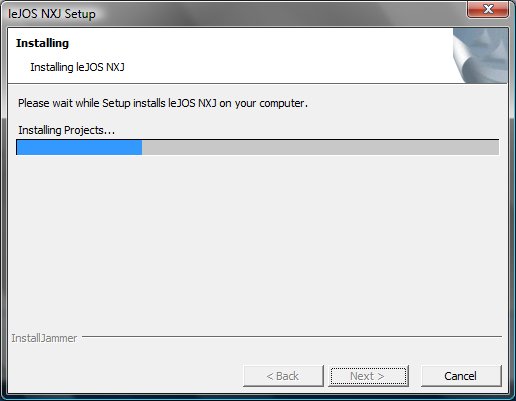
When the software installation is complete, you see: 
When you click "Finish" the GUI version of the NXJ firmware flash utility will start bto allow you to update the firmware on one of more NXTs.
You will see: 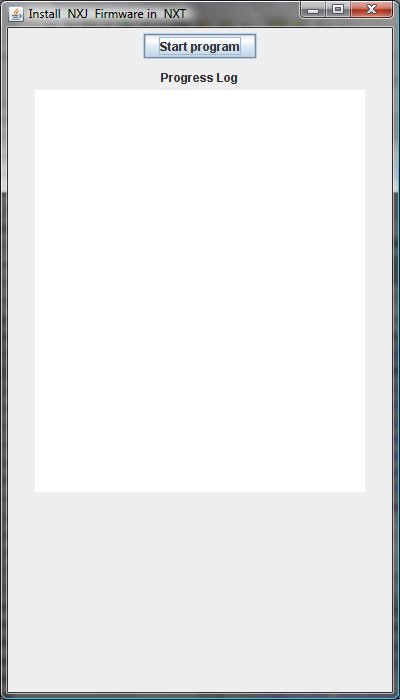
Click "Start Program" and you will be asked: 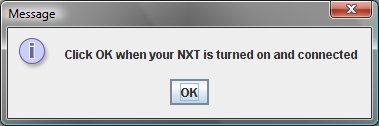
Click OK and you will be asked: 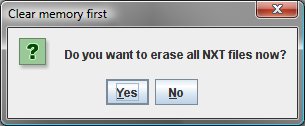
If you select "Yes" all current files on the NXT are erased. It is a good idea to select this as old .nxj files may not work with the new firmware. You will then see:
Make sure that your NXT is connected to the PC by the USB cable and witched on. Then press "OK" and you should see some progess messages, such as: 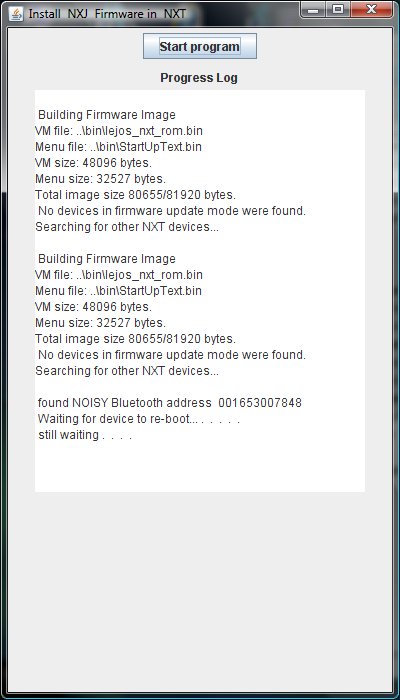
When your NXT has been updated, you will be asked: 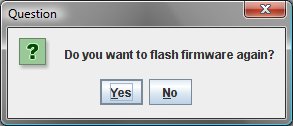
If you have more NXTs to update, click "Yes". When you have finished click "No" and the flash utility will terminate and then the installer will terminate, and you are done. Skip to the section below on testing your installation. Manual installationSkip this section and go to "Testing the Installation" if you are using the GUI installer. Unzipping the releaseUnzip the release to a folder such as c:\lejosbeta85. The zip file includes a directory called lejos_nxt, so your NXJ_HOME folder will be c:\lejosbeta85\lejos_nxt. Setting up environment variablesYou need to set:
Setting JAVA_HOME is not always necessary, but is good practice. The bin directory for the JDK may already be on your PATH. You can set these environment variables by going to Control Panel > System > Advanced > Environment Variables and creating them or editing existing values. You can set them either as user or system variables depending on whether you want leJOS NXJ to be available to all users or just the current user. Using a Command WindowYou will need to run command-line commands to test your installation and optionally to flash the firmware. If you plan to use IDE such as Eclipse or Netbeans, once you have installed your IDE, you should not need to use the command window any more. You can start a command window on Windows XP by Start > Run and typing cmd. On Vista, type "Command Prompt". Type Flashing the FirmwareAs leJOS NXJ is a firmware replacement, you will need to flash the firmware to your NXT. Note that this will overwrite any existing firmware. If you have the standard LEGO firmware or other third-party firmware on your NXT, existing files will be lost. The 0.85 release increases the amount of flash memory used by the firmware and the startup menu, so the first time you flash this version of the firmware, existing leJOS NXJ files will be deleted. Make sure your NXT is attached to the PC by its USB cable, and switch it on by pressing the orange button. You can either use the command line Using the command line: Type Using the GUI version: The GUI version of nxjflash is NXJFlashG. You start it by running the file nxjflashg.bat from the leJOS NXJ bin folder. When the program window opens, click on Start Program and follow the instructions. A more complete explanation is in the tutorial "PC GUI Tools". Testing your InstallationYou can check that you have successfully installed leJOS NXJ on your PC and your NXT by compiling and running your first program. Compiling and running your first programJava programs need to be compiled to class files before they can be run. For leJOS NXJ, all the class files that are to be run on the NXT needed to be linked to produce a binary file (with the extension .nxj) and this must then be uploaded to the NXT. To run a sample program, such as the View.java sample, follow these steps: Start a command window, and change directory to the View sample folder: Compile the program with the nxjc command: Then link, upload and run it with the nxj command: You should see the menu of the View sample on your NXT. |
|